A Guide on How to Collect Your Comodo EV Code Signing Certificate
Collecting EV code signing is easy. Here's how you can do it
Being the first of its kind certificate, Comodo EV Code Signing features a collection process that is entirely different from the standard Code Signing process, thanks to its state-of-the-art two-factor authentication technology. However, it's nothing to lose sleep over as we're here to help you (as always).
Here's our guide on how you can obtain an EV Code Signing certificate and sign your code, applications, and executables without any troubles.
EV Code Signing: A Brief Overview
It's called 'EV' Code Signing for two reasons – its extensive validation/vetting process and its hardware-based private key storage. As far as the former is concerned, the process is the same as the Extended Validation (EV) SSL certificates. Once you submit your request to purchase EV Code Signing, Comodo will begin the validation process. Click here to learn more about the extended validation process.
Once Comodo successfully completes the vetting process, it will physically mail the EV Code Signing certificate to your registered address. Yes, Physically! Snail mail! The Private Key of your certificate will be stored on a physical token that comes as a part of the package sent by Comodo.
Here's what you get in the package
Comodo will send you the following items as a part of your EV Code Signing package:
- A Smart Card: It's a credit card-like card that has a chip in it to store your Private Key. Needless to say, it's the most essential part of your certificate.
- A Smart Card Reader: It's device to feed in your Smart Card to lock down your applications with the Private Key stored in it.
- A Letter from Comodo: It's an acknowledgment letter from Comodo citing common instructions. Don't throw this letter out; you'll need it.
Let's collect your certificate
Now here's the part you've been waiting for. We know you want to get your hands on your certificate ASAP, but you'll have to go through a few steps before that.
Download & Install SafeNet Authentication Client
The first step in line to collect your certificate is to download and install a software named 'SafeNet Authentication Client.' To do that, refer to the letter you got from Comodo and go to the URL provided in it to download the software compatible with your system.
Once you've downloaded the client, install it and restart your system once the installation is completed successfully.
Plug in your Smart Card
First, open up the SafeNet Authentication Client you just installed. Once it's opened, plug in your Smart Card Reader with your Smart Card inserted in it. Once plugged in, the device will light up-it'll change back and forth between blue and purple colors.
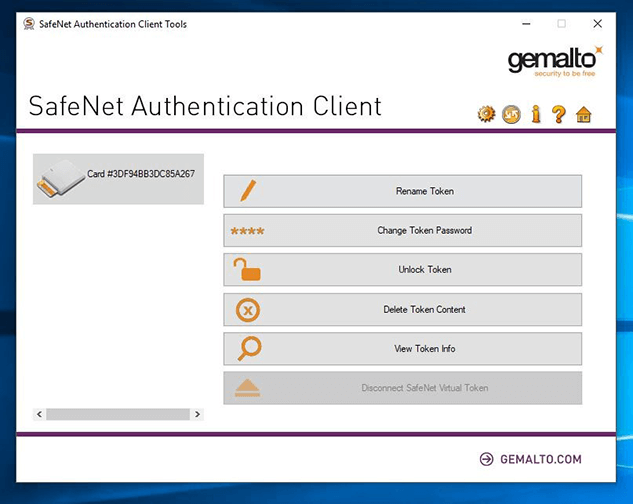
Once your system detects and installs the device, the light will turn purple on a permanent basis, and you're ready to move further. The SafeNet Client will now recognize the card and show something like this:

Change your token password
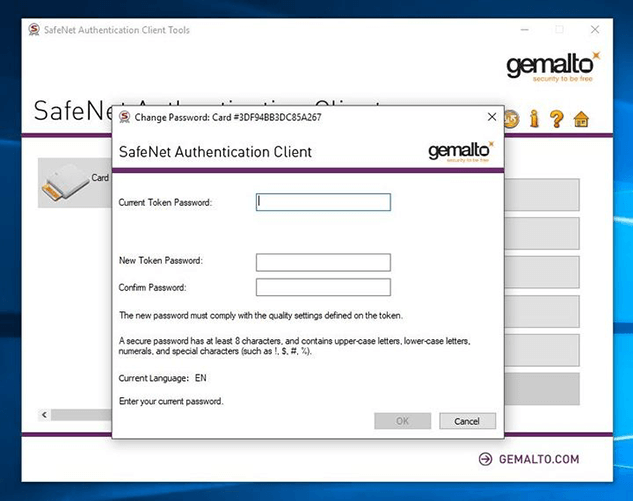
Although this step isn't necessary, it's highly recommended that you change your token password. To do that, click on Change Toke Password, enter the password you got from Comodo in its e-mail and enter a new one. As simple as that!

Collect your certificates
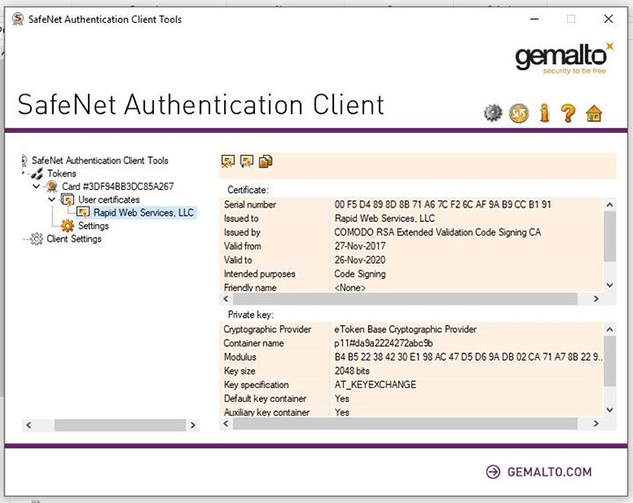
In order to collect your certificate, click on the 'Gear' icon. This will change the interface of the SafeNet client. You'll see a sidebar on your left that will have a number of tokens and drop-downs. Keep on going into the drop-downs until you reach your company's certificate as shown in the below image.

All done? Great. You can now begin signing code.