
 (9 votes, average: 4.78 out of 5)
Higher Trust = More Sales
(9 votes, average: 4.78 out of 5)An award-winning content management system, Joomla, enables its users to build websites and online applications. Web-designers or web-developers find it to be a very convenient option, as Joomla is user-friendly and helps users from all backgrounds build sites very quickly.
Like all other websites, to secure the sensitive or otherwise private data stored or transferred on a Joomla website, a Secure Socket Layer (SSL) certificate needs to be installed for apt encryption. As we all know, this encryption protocol protects data on the Internet from all phishers and data-hackers. An SSL certificate on your Joomla website will allow you to let your users log in with a secure ‘https’ URL.
You’ll need to purchase an SSL certificate before you start the install process. If you don’t already have a certificate, you can find the best one for your needs here.Compare SSL Certificates
Here is a step-by-step procedure for installing an SSL certificate on Joomla:
Step 1 – Buy an SSL certificate and have it enabled to be used on your domain. Click here to find a wide range of SSL certificates to choose from.
Step 2 – Click on ‘File Manager’ by browsing to the control panel of your Web hosting account. Now, proceed by locating the ‘.htaccess’ file in the root directory of your site. Download and save the file on your computer.
Step 3 – Now open the ‘htaccess’ file as a notepad or other text editor. Proceed by adding the following code to the text file:
RewriteCond %{SERVER_PORT} !^443$
RewriteRule .* https://%{HTTP_HOST}%{REQUEST_URI} [QSA,R=301,L]
<IfModule !mod_ssl.c>
Redirect permanent / https://www.yourdomainname.com
Step 4 – Delete and replace the ‘www.yourdomain.com’ with your Joomla website’s domain-name. Exit the text editor program after saving it.
Step 5 – From your website control panel, open the ‘File Manager’ application. Browse and access the directory on your computer where you saved the ‘.htaccess’ in Step 2. Now, upload the file to the root directory of your website. If prompted, over-write the existing ‘.htacess’ file.
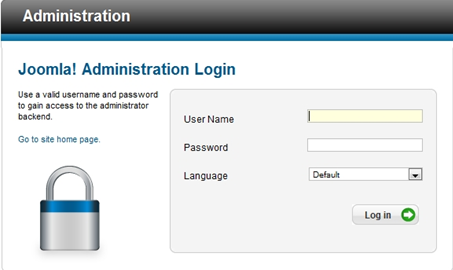
Step 6 – Log-in as administrator on your Joomla website’s administrative page.
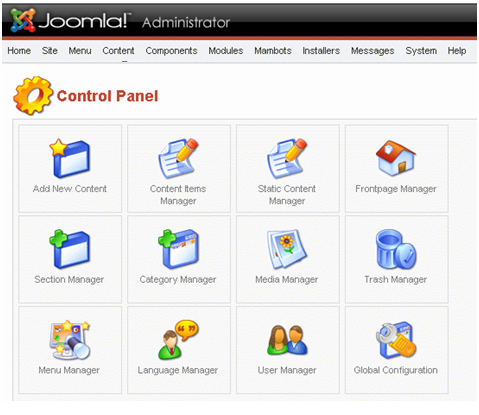
Step 7 – On the main control panel page of Joomla, click on ‘Global Configuration’ link. This will take you to the main Joomla settings page.
Step 8 – On the top of the ‘Global Configuration’ page, click on the ‘Server’ tab.
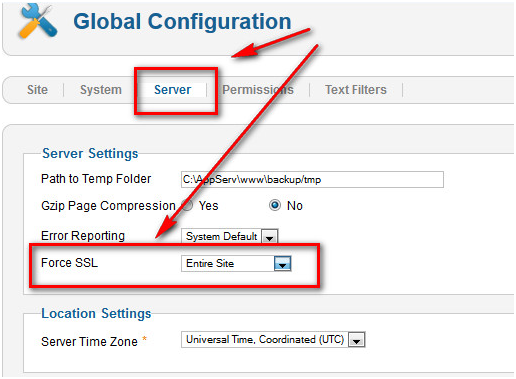
Step 9 – Now click on ‘ForceSSL’. From the drop-down menu, select and click on the option ‘Entire Site’. Then select the ‘Save’ icon that can be found on the upper right corner of the page of ‘Global Configuration’.
Step 10 – This brings us to the end of the installation procedure. Now you just need to log in to your Joomla website. As you made changes to the ‘.htaccess’ file, your browser will now redirect you from ‘http’ URL to an SSL-secured ‘https’ log-in page.
