Rate this article: 
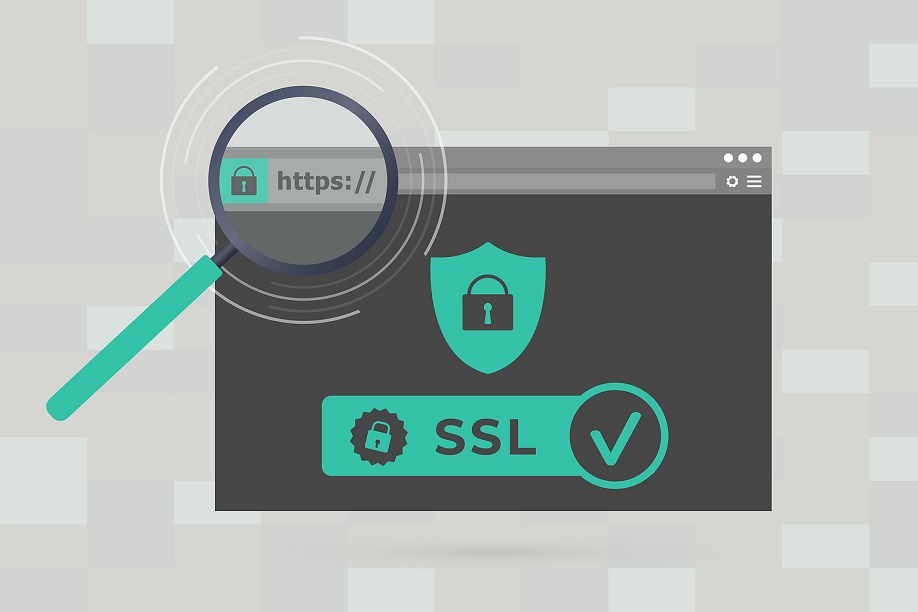
HTTPS, or hypertext transport protocol secure, is how information is securely transmitted on the internet. Enabling HTTPS on your WordPress website is a must for organizations that value data security and want their websites to rank on Google.
In this article, we’ll guide you on how to force redirect HTTP to HTTPS on WordPress for Apache and NGINX web servers. You can achieve this by editing the .htaccess file or, if you prefer a more convenient approach, by automation. To keep things brief, we’ll assume that you already have an SSL/TLS certificate installed on your website. (If not, check out these articles to learn how to get an HTTPS certificate and how to install a Comodo SSL certificate on your website.)
The .htaccess file is a directory configuration file for your Apache web server. It allows you to make changes without editing your server’s main configuration files and settings.
To locate the .htaccess file in your WordPress installation, follow these steps:
Before we learn to edit the .htaccess file, you’ll need to choose from the available methods to access this file.
You can access and edit the .htaccess (in the root folder) using your cPanel, FTP, or a simple plugin. Let’s quickly explore all three methods in the following steps:
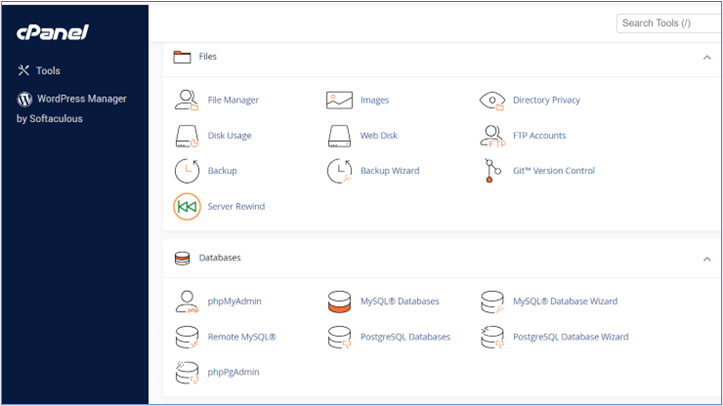
To access the .htaccess file using cPanel, log in to your account and select File Manager (as shown below).
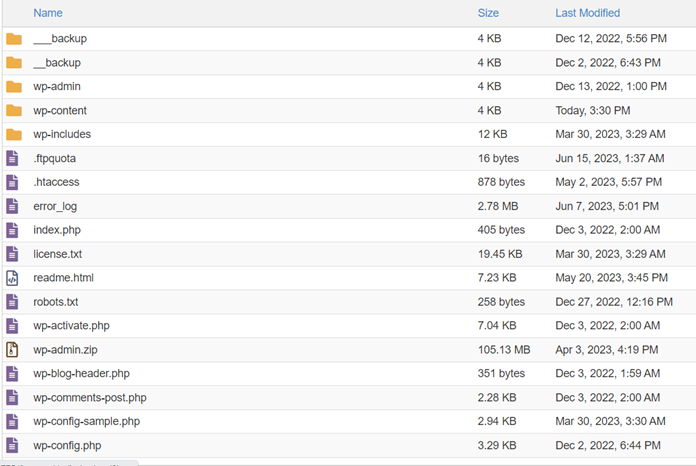
From there, navigate to the public_html folder, where you can locate the .htaccess file and make the necessary edits.
If, for some reason, you’re not seeing the .htaccess file, it may be that you have certain files hidden by default. To view these files, select Settings in the top-right corner of your screen. Check to see if the option Show Hidden Files (dotfiles) is selected. If not, select it and hit Save. This will refresh your File Manager window and you should now see the .htaccess file available.
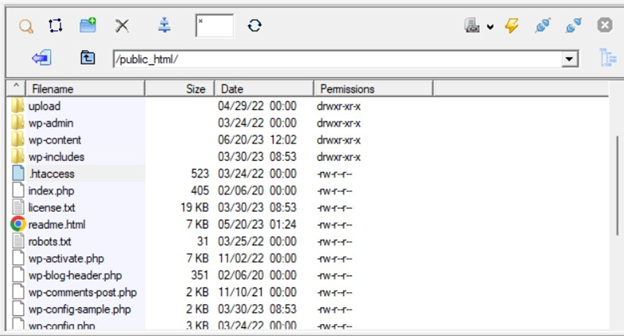
If you prefer to use FTP, you can download the file to your computer via a program like Filezilla and edit it with a code editor. Simply upload the edited file to overwrite the existing one.
While we don’t suggest using plugins unnecessarily, there are cases where a lightweight plugin can be useful. If you’d rather to edit the .htaccess file with a plugin, you can do so using a plugin like Htaccess Editor by WebFactory.
The process of using a plugin is easy — simply download and install the plugin on your dashboard, activate it, and go to Settings > WP Htaccess Editor to edit the code.

You can then add your code and click Save Changes to apply the changes. Once finished, you can easily uninstall the plugin or leave it installed for any future .htaccess edits you may wish to make.
Now that you have located the .htaccess file using one of the above methods, it’s time to change the code so WordPress will force a redirect to HTTPS.
To modify the .htaccess file with the appropriate code, follow these steps:
Rewrite Engine On
RewriteCond %{HTTPS} !=on
RewriteRule ^(.*)$ https://%{HTTP_HOST}%{REQUEST_URI} [L,R=301]
The command will look like this:
# Force HTTPS on all pages
<IfModule mod_rewrite.c>
RewriteEngine On
RewriteCond %{HTTPS} !=on
RewriteRule (.*)$ https://%{HTTP_HOST}%{REQUEST_URI} [L,R=301]
</IfModule>
(NOTE: Don’t add these commands between “# BEGIN WordPress” and “# END WordPress” in the file.)
Here’s what the updated file should look like:
# Force HTTPS on all pages
<IfModule mod_rewrite.c>
RewriteEngine On
RewriteCond %{HTTPS} !=on
RewriteRule (.*)$ https://%{HTTP_HOST}%{REQUEST_URI} [L,R=301]
</IfModule>

# BEGIN WordPress
<IfModule mod_rewrite.c>
RewriteEngine On
RewriteBase /
RewriteRule ^index\.php$ - [L]
RewriteCond %{REQUEST_FILENAME} !-f
RewriteCond %{REQUEST_FILENAME} !-d
RewriteRule . /index.php [L]
</IfModule>
# END WordPress
This code snippet checks whether HTTPS is enabled and redirects the user to the HTTPS version of the website. It does this using a 301 redirect, which indicates a permanent redirect.
After adding this code, any incoming HTTP requests to your WordPress site will automatically be redirected through the HTTPS protocol. Make sure to test the redirection by accessing your website using the HTTP protocol to ensure it’s working correctly.
Explore CodeGuard WordPress Website Backup PlansModifying the .htaccess file is a sensitive operation, and any mistakes can potentially result in website errors. Therefore, before proceeding with the process of forcing a redirect from HTTP to HTTPS, it’s always a good idea to do the following:
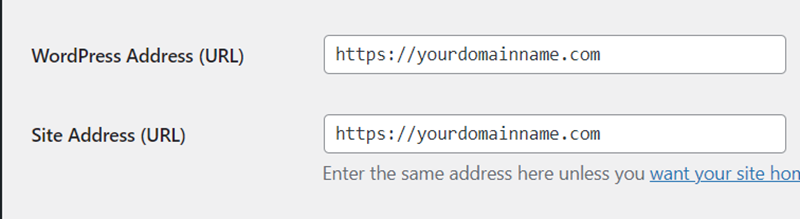
One way to confirm that your WordPress and site’s URLs are set to HTTPS is by checking your settings in WordPress. Access your WordPress admin dashboard and navigate to Settings > General. The WordPress Address (URL) and Site Address (URL) must be HTTPS, not HTTP.
As of July 2023, about 34.1% of the websites (whose web server information is known) use NGINX as their web server, according to W3Techs.
If you use NGINX as your web server, you can effortlessly redirect all HTTP traffic to HTTPS by incorporating the following code into your NGINX configuration file (see below). By default, this is typically the nginx.conf, which is usually located in one of the following locations: /usr/local/nginx/conf, /usr/local/etc/nginx or /etc/nginx.
server {
    listen 80;
    server_name yourdomainname.com www.yourdomainname.com;
    return 301 https://yourdomainame.com$request_uri;
}
Of course, you’re not quite done yet. You’ll also need to add another block as well for www and non-www connections via port 443. You can do this by inserting the following commands below the info you’d previously added:
server {
    # redirect HTTPS www.
    listen 443 ssl;
    server_name www.yourdomainname.com;
    return 301 https://yourdomainname.com$request_uri;
}

server {
    listen 443 ssl;
    server_name yourdomainname.com;
    ssl_certificate yourdomainname.com.crt;
    ssl_certificate_key yourdomainname.com.key;
    # other configuration
}
This is how you can redirect WordPress running on NGINX. Yes, that’s it! It’s really that easy.
Many developers commonly adopt the manual process for enforcing HTTPS redirection on WordPress. However, one must proceed cautiously since editing WordPress files can introduce issues or potentially cause your website to go offline. For beginners or those preferring a simpler approach, using a WordPress plugin may be a simpler option.
WordPress offers many HTTPS-forcing plugins for its users to choose from. For example:
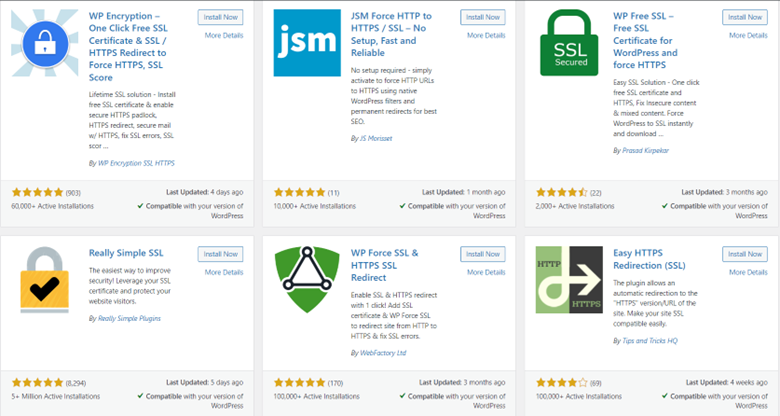
However, Really Simple SSL is a popular plugin that operates independently of your server configuration and works on Apache and NGINX. It also includes additional WordPress security measures and website hardening capabilities.
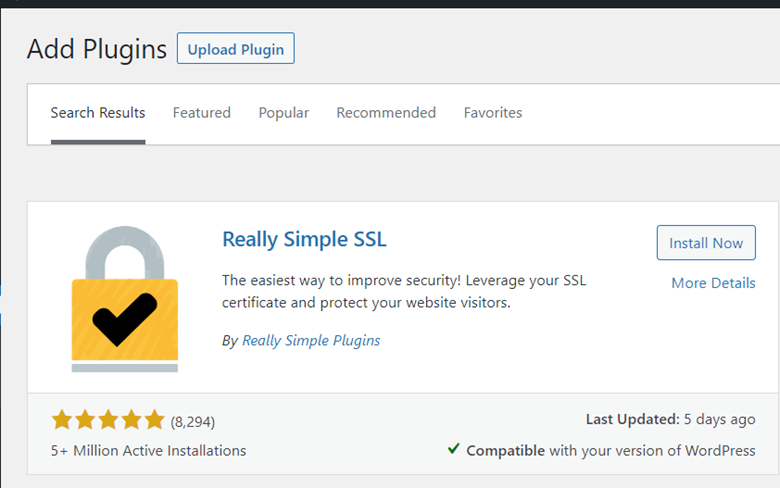
The plugin automates the process, enabling a smooth, hassle-free transition to HTTPS for your website. Simply follow the steps and you’ll be able to force HTTPS on your WordPress site in no time.
Contact Comodo SSL for Error-Free SSL Installation on Your WordPress SiteNow that you’ve made the switch from HTTP to HTTPS on your WordPress site, it’s time to ensure that the website is functioning at its best.
According to SSL Labs, nearly 39% of websites don’t have enough security measures in place, putting them at risk of cyber attacks.
Incorrect HTTPS implementation on your website is one of those security concerns that must be addressed without delay. As a website owner, you should always focus on the overall security of your WordPress. To increase your security:
Suppose you are serious about the above checklist and intend to heighten your WordPress security. In that case, we suggest using the SiteLock security service, which provides a complete solution for addressing all WordPress security vulnerabilities. For additional information, click on this link.
Contact us for additional information on your WordPress site’s best SSL/TLS security. Get an SSL/TLS from a Certified Authority (CA) with complementary website security at a special price.
