Rate this article:  (2 votes, average: 5.00)
(2 votes, average: 5.00) (2 votes, average: 5.00)Securing your website with an SSL certificate is crucial for data encryption and user trust. In this guide, we’ll walk you through the steps to purchase, generate, and install a Comodo Wildcard SSL certificate on an Apache web server running on Ubuntu 22. We’ll also cover how to setup HTTP to HTTPS redirects so every visitor’s data will be encrypted. By the end of this tutorial, your domain will be configured with secure HTTPS connections.
Be sure to set reminders for regular updates to your SSL certificates or you can try our automated SSL renewal tool and never have to worry about the rest of this article again.

Before we begin, you’ll need to purchase a Comodo Wildcard SSL certificate. If you haven’t obtained one yet, you can purchase it at a discount right here on comodosslstore.com.

Secure exclusive pricing on your wildcard certificate purchase directly from us. Obtain a Comodo Wildcard Certificate for less than $70 per year.
Compare Wildcard SSL Certificates
The first step in installing a wildcard SSL certificate on Apache/Ubuntu is to generate a private key and a Certificate Signing Request (CSR) using OpenSSL. While this step can be done on your local computer, we recommend doing it on your server (via SSH), so the private key is stored on your server.
# sudo openssl req -newkey rsa:2048 -keyout /etc/ssl/private/PRIVATEKEY.key -out /etc/ssl/certs/MYCSR.csr -nodes
You can change PRIVATEKEY and MYCSR to names that will make sense to you. After running the command, you’ll be prompted to enter some additional details. When entering the Common Name, be sure to prefix the domain name with “*.” – this is required for wildcard certificates.
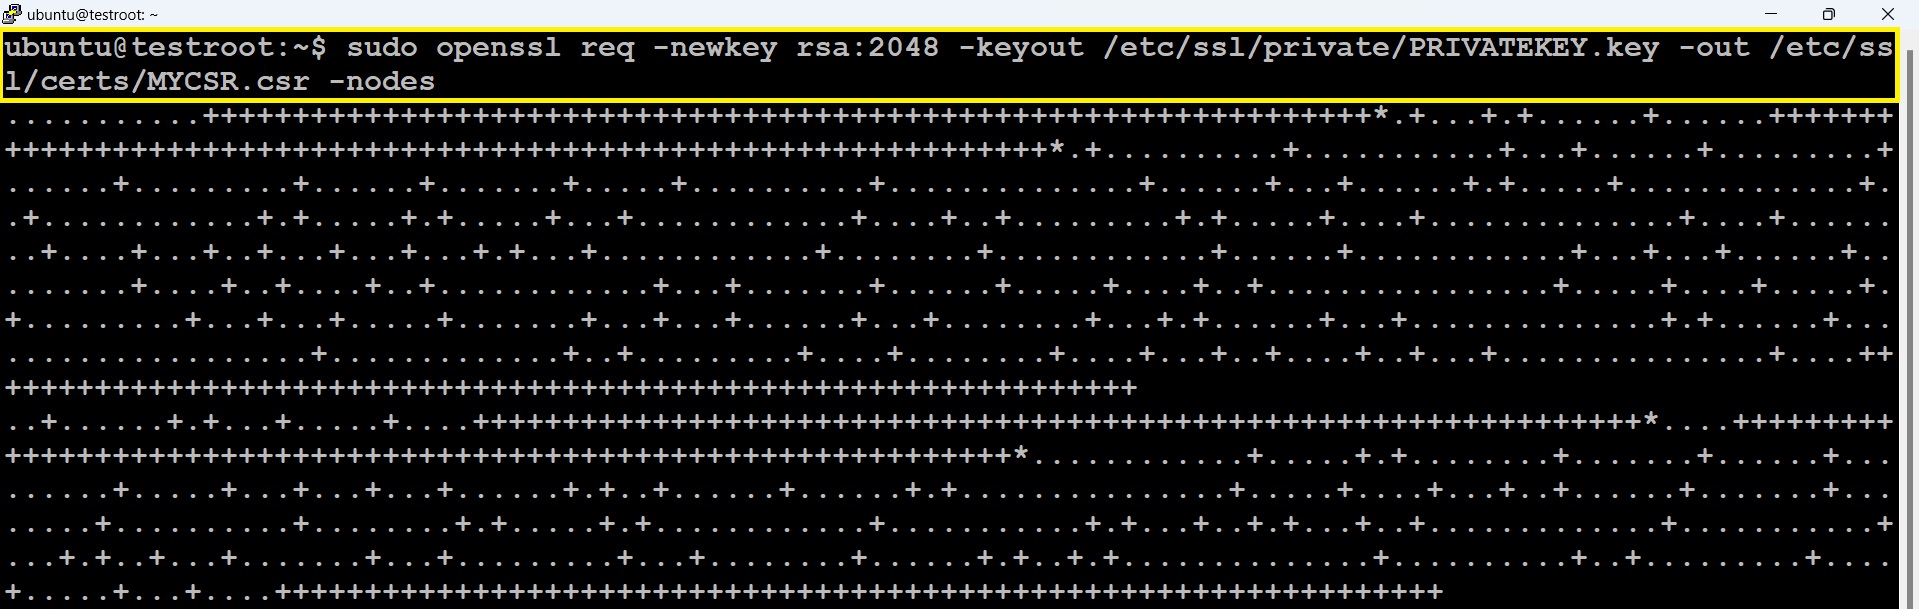
In this example, we generated a CSR located at /etc/ssl/certs/ and a private key located at /etc/ssl/private/. Both the private key and CSR have been successfully generated.
The next steps are to submit the certificate request to your certificate provider (eg. Comodosslstore.com) then complete the validation process to issue the certificate.
1. Use the command below to open the CSR file you generated, then copy the CSR contents to your clipboard.
# sudo cat /etc/ssl/certs/MYCSR.csr
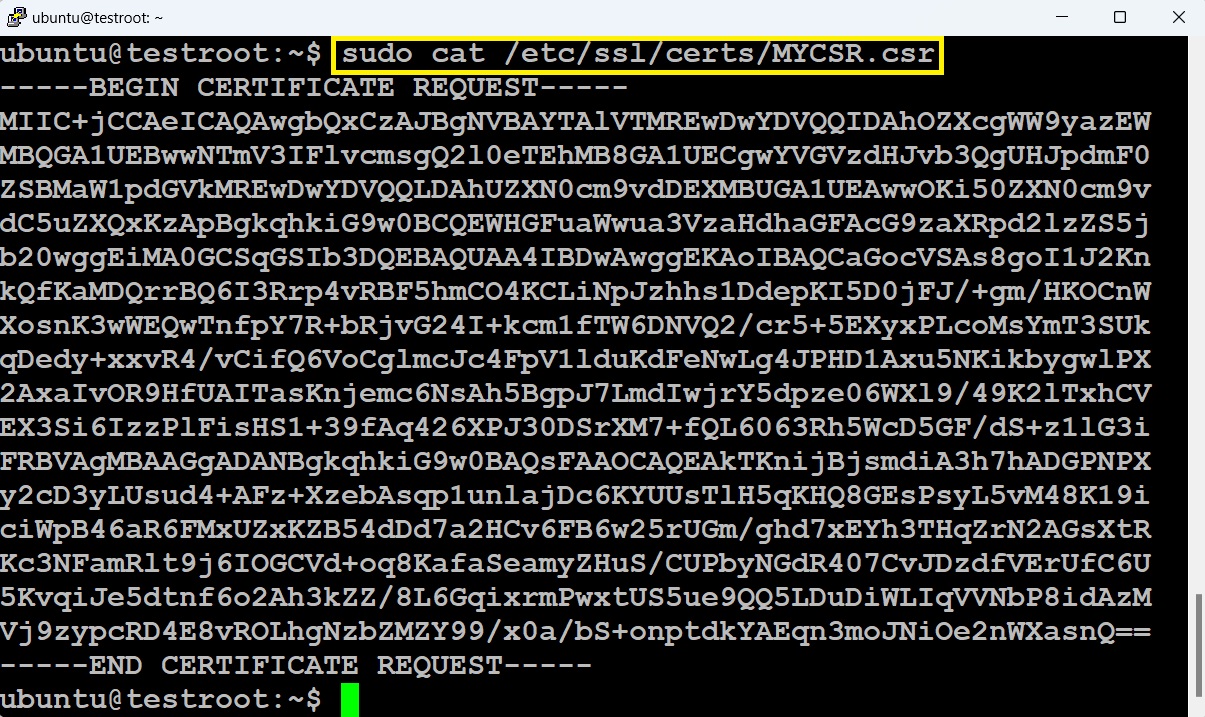
2. Login to your certificate provider’s website (e.g. comodosslstore.com) and submit the CSR.

Complete validation using your preferred method. FIle-based validation is not allowed for wildcard certificates, so you’ll need to use one of these methods to prove that you control the domain:
Email Verification:
CNAME Record:

Next, you’ll need to open the certificate bundle and extract the CA bundle file (that’s your intermediate certificate) and the file that includes your domain name (that’s your SSL certificate).
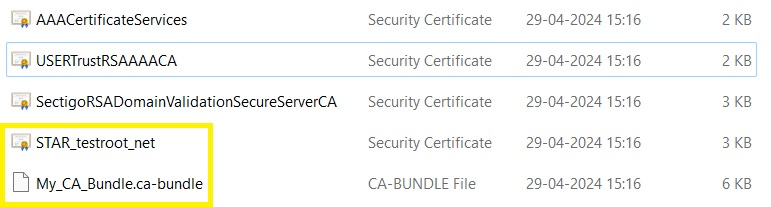
Upload the files from your local machine (for example, using SFTP) to the Ubuntu 22 server. Be sure to place the files in a non-public folder, we suggest the standard directory located at /etc/ssl/certs.
Now it’s time to actually install your wildcard SSL certificate on your server–you’ll need to configure Apache to use the SSL certificate to create secure connections on port 443. Here’s a breakdown of each step for Apache on Ubuntu 22:
1. Run this command to enable the SSL module for Apache.
# sudo a2enmod ssl
2. Create a Virtual Host Configuration file named with your domain (in this example “testroot.net.conf”) within the directory /etc/apache2/sites-available and include the following code, ensuring the required SSL settings are incorporated (be sure the paths to the certificate and key files are correct).
# sudo touch /etc/apache2/sites-available/testroot.net.conf
# sudo vim /etc/apache2/sites-available/testroot.net.conf
<VirtualHost _default_:443>
    ServerAdmin webmaster@localhost
    ServerName testroot.net
    ServerAlias *.testroot.net
    DocumentRoot /var/www/html
    ErrorLog ${APACHE_LOG_DIR}/error.log
    CustomLog ${APACHE_LOG_DIR}/access.log combined
    SSLEngine on
    SSLCertificateFile /etc/ssl/certs/STAR_testroot_net.crt
    SSLCertificateKeyFile /etc/ssl/private/PRIVATEKEY.key
    SSLCertificateChainFile /etc/ssl/certs/My_CA_Bundle.ca-bundle
</VirtualHost>

# cat /etc/apache2/sites-available/testroot.net.conf
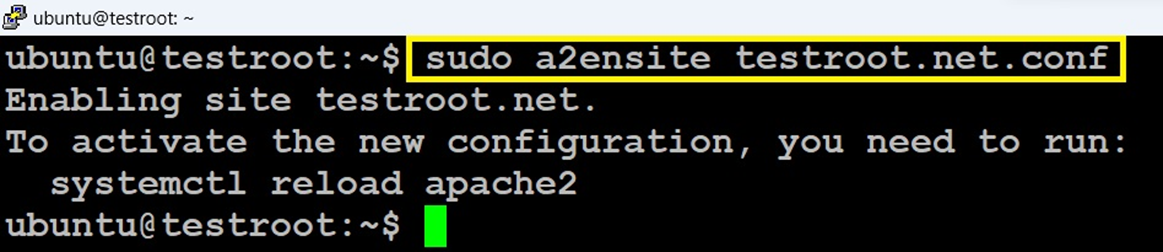
3. Run this command to enable the site configuration file you created. (Again, change the file name to match yours.)
# sudo a2ensite testroot.net.conf
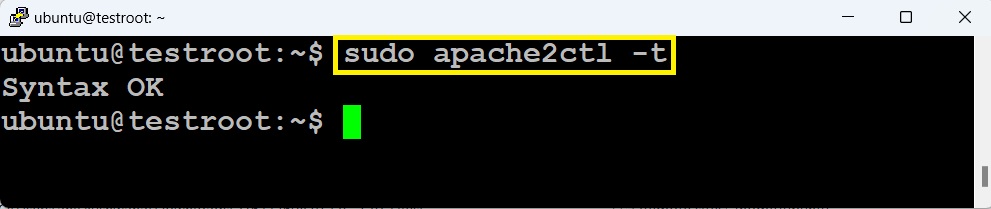
4. Use this command to check the Apache configuration syntax for any errors before restarting the service.
# sudo apache2ctl -t
5. Restart the Apache service.
# sudo systemctl restart apache2

The virtual host configuration has been completed, and your site should now be accessible through both http and https You should also be able to access subdomains via https. Next, we will configure automatic redirections, so every visitor session is protected with HTTPS.
This is needed to redirect HTTP URLs to HTTPS so that all visitors are protected. You’ll need to modify lines in /etc/apache2/apache.conf. Once the changes are made, you can create an .htaccess file with redirect rules.
1. # sudo vim /etc/apache2/apache2.conf
Locate line number 172 and change ‘AllowOverride None’ to ‘AllowOverride All.’ Additionally, go to line number 196 and update ‘Require all denied’ to ‘Require all granted.’ Save the changes and restart the Apache2 service.
2. # sudo systemctl restart apache2
3. Next, create a .htaccess file in the web document root path, which in our case is /var/www/html. Add the following code to the .htaccess file, ensuring proper permissions, and save it. Then, verify that the redirection from HTTP to HTTPS is functioning correctly by checking the link below.
# sudo touch /var/www/html/.htaccess
# sudo chown -R www-data:www-data /var/www/html
# sudo vim /var/www/html/.htaccess (Add the below code for website redirection.)

RewriteEngine On
RewriteCond %{HTTPS} off
RewriteRule ^ https://%{HTTP_HOST}%{REQUEST_URI} [L,R=301]
4. Enable the mod_rewrite Module for Apache Server
# sudo a2enmod rewrite
# sudo systemctl restart apache2
Accessing your domain via http:// will automatically redirect you to the secure URL using the HTTPS protocol.
You’ve now completed the process to install a wildcard SSL certificate in Apache on an Ubuntu server.
You can use our free, it’s also a good idea to visit your website using HTTPS and ensure the SSL is working correctly.
Never worry about expiring wildcard certificates again. You can “set it and forget it” when you automate your SSL certificates with Autoinstall SSL.
Try Autoinstall SSL
