Rate this article:  (4 votes, average: 5.00)
(4 votes, average: 5.00) (4 votes, average: 5.00)A SAN SSL certificate can certainly be used to secure multiple IP addresses (so long as they’re not private or reserved IP addresses). It’s rare, but companies sometimes opt to take this approach. It’s ideal for environments where multiple servers with different IP addresses need to be encrypted.
This resource will walk you through how to get a SAN SSL certificate for an IP address and answer some frequently asked questions.
Secure up to 1,000 IP addresses with a single certificate starting at just $18.81/year. Enjoy 256-bit encryption, 99.9% browser compatibility, and unlimited reissues.
Shop PositiveSSL SAN Certificates
Select a reputable CA that supports SAN SSL/TLS certificates and allows public IP addresses in the SAN field, such as Comodo or PositiveSSL. We say this because not all certification authorities issue certificates for IP addresses.
A certificate signing request is needed to request the SSL certificate from the CA. We’ve put together a centralized set of resources on how to generate a CSR for different servers (Apache, IIS, AWS, etc.).
The CSR will look something like this:
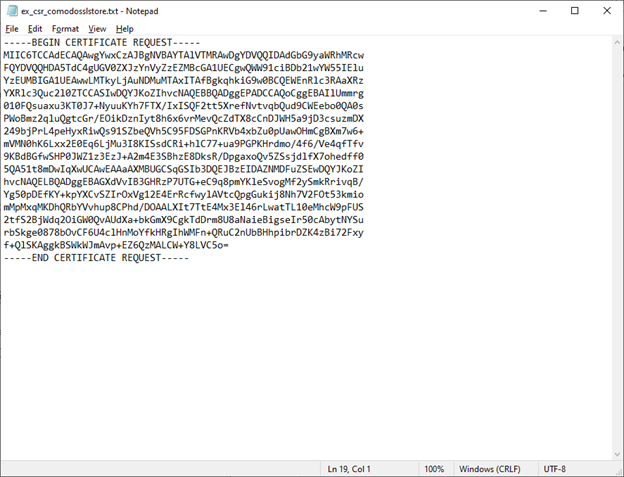
Image caption: An example screenshot of a CSR we generated for this article.
Generating a traditional hostname CSR is pretty straightforward. However, generating a CSR to cover one or more IP addresses as SANs differs slightly from the traditional CSR methods.
To generate a CSR that includes one or more IP addresses, you’ll first need to generate a private key and a configuration file. Follow the steps below to create the private key and config file that are used to generate the CSR. This is a user-friendly and manageable approach, especially when dealing with multiple SAN entries.
openssl genrsa -out myprivatekey.key 2048 Create a configuration file (e.g.,my_san_config.cfg) with the following code:
[req]
default_bits = 2048
default_md = sha256
distinguished_name = dn
x509_extensions = v3_req
prompt = no

[req_dn]
C = Country
ST = State
L = City
O = Organization
OU = Unit
CN = CommonName
[v3_req]
keyUsage = keyEncipherment, dataEncipherment
extendedKeyUsage = serverAuth
subjectAltName = @alt_names
[v3_req]
subjectAltName = @alt_names

[alt_names]
IP.1 = IPv4 address
IP.2 = IPv4 address
Here’s an example of how that .cfg file looks in Notepad++:
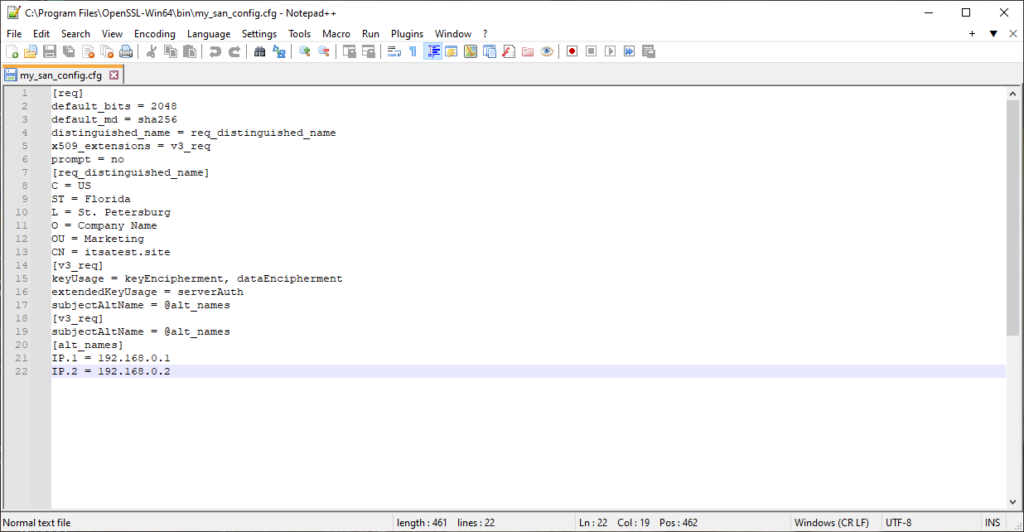
Image caption: A screenshot of our example configuration file in Notepad++.
Now, it’s time to create the CSR file using the private key and config files you just created. You can create a CSR file with either a .txt or .csr extension. (Go with whatever version your CA specifies.)
Create the CSR specifying the IP addresses in the SAN field:
openssl req -new -key myprivatekey.key -config my_san_config.cfg -out mycsr.csrYou likely won’t see anything in your OpenSSL command line screen telling you the CSR generation process was successful:
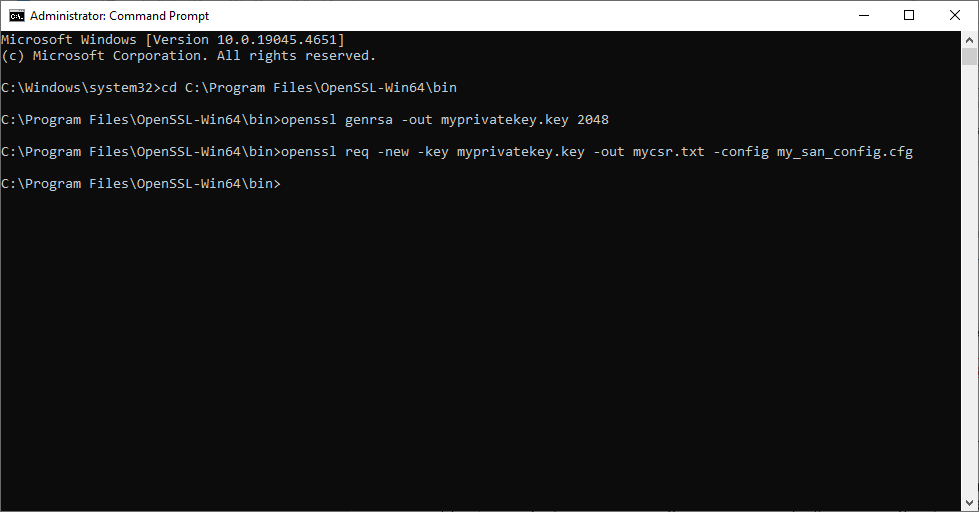
Image caption: A demonstration walking through the steps of key and CSR file generation in OpenSSL on Windows 10.
However, if you check your OpenSSL bin folder, you should see the newly generated CSR file sitting there.
Secure unlimited subdomains and up to 1,000 IP addresses with a single certificate. Starting at just $156.02/year, enjoy 2048-bit encryption. Ideal for e-commerce, mail servers, and more.
Get Your Positive Multi-Domain Wildcard SSL Certificate Today!
Now, let’s consider what this process would look like for Linux users. The process will be largely the same — the difference between the Windows and Linux commands basically boils down to a difference in syntax.
openssl req -newkey rsa:2048 -nodes -keyout myprivatekey.key Note: the -nodes command stands for no DES, meaning that the key isn’t secured by a passphrase.
Create a configuration file (e.g., my_san_config.cnf). Use the same code as the configuration file used for Windows. Refer to the configuration content provided in the Windows section for the details.
Create the CSR specifying the IP addresses in the SAN field using the following command (below). Again, remember that you can create your CSR as a .txt or .csr file. For this example, we’ll use a .csr file extension:
openssl req -new -key myprivatekey.key -config my_san_config.cfg -out mycsr.csrYou should be able to locate the CSR file in your working directory using the ls command, which shows all of the files you’ve just created. To see a specific file (for example, the .csr), then use an asterisk before the file extension as shown below:
ls *.csrSubmit the CSR file to your chosen CA through their website or portal. Follow their specific submission instructions for more info. Detailed instructions for this process can be found on ComodoSSLStore.com’s “How to Generate a CSR”support page.
The CA will require you to prove ownership of the IP addresses listed in the CSR. It does this in accordance with the validation requirements outlined in the industry’s Server Baseline Requirements (BRs) section 3.2.2.5.
The CA must keep a record of how the IP addresses were validated and which version of the industry’s BRs was used to do it. Follow the CA’s instructions to complete this step.
Secure unlimited subdomains and up to 1,000 domains and IP addresses with a single certificate. For just $265.78/year, benefit from full organization validation (OV), 256-bit encryption, and 99.9% browser compatibility. Perfect for businesses needing robust, comprehensive protection.
Secure Multiple Domains with One Certificate
After validation, the CA will issue the SAN SSL certificate. You will receive files for your certificate and certificate chain, which must be installed on your web server.
On Windows (IIS Manager):
To explore the installation process in more detail, including different IIS versions and troubleshooting tips, refer to this ComodoSSLstore.com detailed resource.
On Linux (Apache):
SSLCertificateFile /path/to/your_certificate.crt
SSLCertificateKeyFile /path/to/myprivatekey.key
SSLCACertificateChainFile /path/to/ca_bundle.crt
Ensure the paths are correctly set to the certificate files to avoid configuration errors. Detailed guidance can be found in the Apache SSL setup instructions on the ComodoSSLstore.com page.
Using a SAN SSL certificate for IP addresses is a straightforward way to secure multiple IP addresses. Following the steps outlined above will enhance your network security, save costs, and simplify certificate management. This approach ensures your data is protected and provides a seamless, secure experience for your users.
Would you like to learn more about managing SSL certificates or explore other ways to secure your network? Contact ComodoSSLStore customer support now.
Protect up to 2,000 domains with one certificate. Compare our range of SAN SSL certificates to find the perfect match for your business needs.
Compare SAN SSL Certificates Now!
A SAN SSL certificate is a type of SSL certificate that allows you to secure multiple domains or external IP addresses under one certificate. This is particularly useful for businesses with several services or subdomains to protect.
Typically, you’ll include each IP address as individual SAN field values. However, it’s important to note that you can’t secure wildcards as SAN fields.
Using a SAN SSL certificate for external IP addresses offers several advantages:
